One of the most common and costly problems in residential, commercial, and hospitality buildings is water leakage from tiled surfaces into lower floors. No matter how visually appealing ceramic tiles may be, without a proper waterproofing layer underneath, moisture intrusion can lead to mold, peeling finishes, and long-term structural damage. This is especially critical in wet areas such as bathrooms, kitchens, balconies, and terraces, where constant water exposure is inevitable.
In this guide, we’ll explain why under-tile waterproofing is essential, what materials should be used, and which key application steps professionals must follow to prevent water damage effectively—whether for new construction or renovation projects.
Why Under-Tile Waterproofing Is Critical
Ceramic finishes in wet zones may appear impermeable, but water can easily penetrate through grout joints and micro-cracks, eventually reaching the substrate. Over time, this leads to deterioration, water stains, mold, and unpleasant odors in the building. To ensure long-lasting performance and hygiene, a flexible and robust waterproofing layer beneath the tiles is essential—not just for comfort, but for the structural integrity of the building.
Step-by-Step Application of Under-Tile Waterproofing
1. Surface Preparation
A clean, smooth, and sound substrate is the foundation of any effective waterproofing system. The surface should be free from dust, oil, and loose particles. Cracks, holes, and surface irregularities must be repaired with appropriate repair mortars. Proper preparation ensures maximum adhesion and continuity of the waterproofing membrane.
2. Primer Application
Before applying any waterproofing compound, a suitable primer should be used to seal surface pores and enhance adhesion. Depending on the substrate and waterproofing system, either epoxy- or acrylic-based primers may be selected. Priming also reduces material consumption and ensures a more uniform application.
3. Installation of Fillet and Joint Reinforcement Tape
Corners and wall-to-floor junctions are critical weak points for water ingress. To prevent failure in these areas, a flexible reinforcement tape or pre-formed fillet is applied. The tape is embedded into a fresh coat of waterproofing compound and must extend at least 5–10 cm on both sides to ensure watertight continuity across joints.
4. Application of Waterproofing Membrane
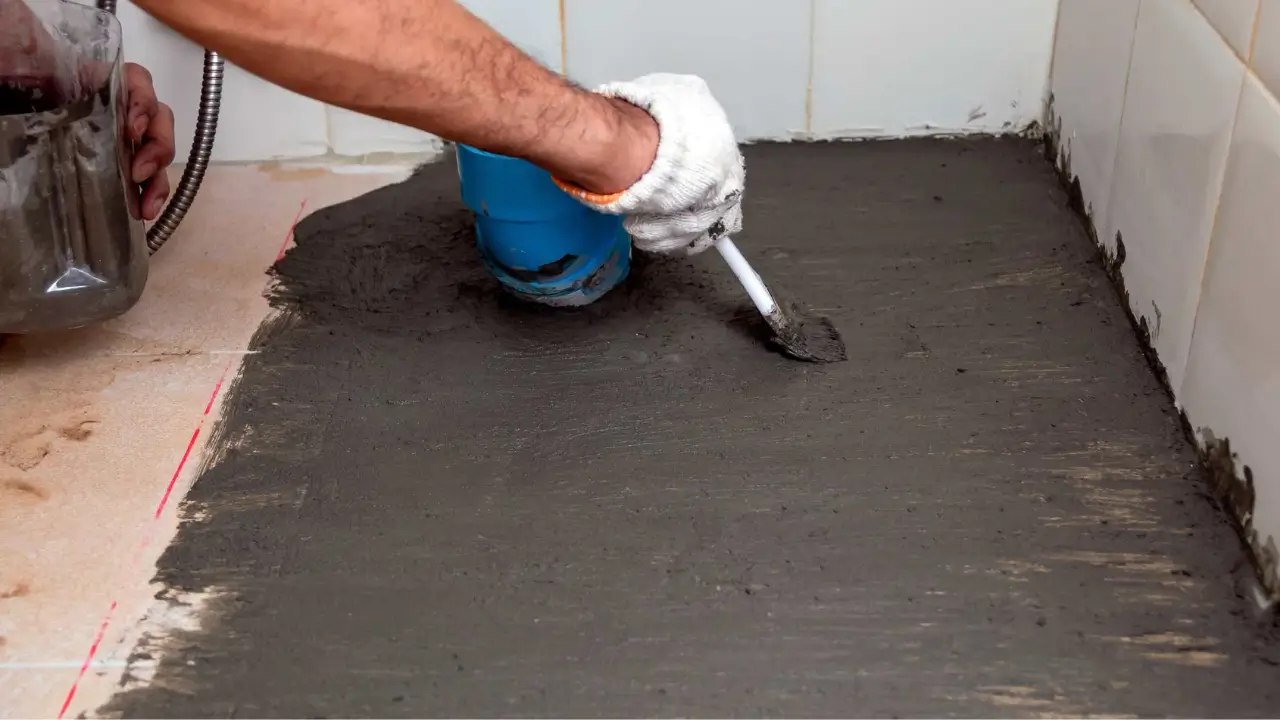
Once the primer has dried, a brush- or trowel-applied, elastic waterproofing compound is applied in two coats. The first coat should be applied in one direction (e.g., horizontally), and after the required curing time, the second coat should be applied perpendicular to the first (e.g., vertically) to ensure full coverage and eliminate pinholes. Mesh reinforcement may also be added in high-risk areas to enhance durability.
5. Curing Time and Tiling
It is crucial to allow the waterproofing membrane to fully cure before tiling. Premature tiling may compromise the integrity of the waterproof layer. Once cured, ceramic tiles can be installed using suitable tile adhesives, and joints should be grouted with water-resistant grouts to maintain system integrity.
Choosing the Right Products for Long-Term Protection
Although under-tile waterproofing may appear to be a minor step in the construction process, it plays a major role in protecting a building from future damage. Improper application or the use of substandard materials can result in recurring damp problems and costly repairs.
At Dryfix, we offer high-performance, flexible waterproofing systems specifically designed for under-tile applications. Our Full Flex 2K and Semi Flex products form a durable, elastic waterproof membrane that resists cracking and movement in substrates. Combined with the correct primers and accessories, they ensure long-term protection and ease of application for professionals.
Protect Your Building—Partner with Dryfix
Whether you’re a contractor, tiling specialist, or property owner, ensuring proper waterproofing beneath tiled surfaces is one of the most effective ways to preserve your investment and avoid future headaches.
Get in touch with the Dryfix technical team today for expert advice and product recommendations tailored to your project needs. Protect your property with proven solutions—choose Dryfix.
