


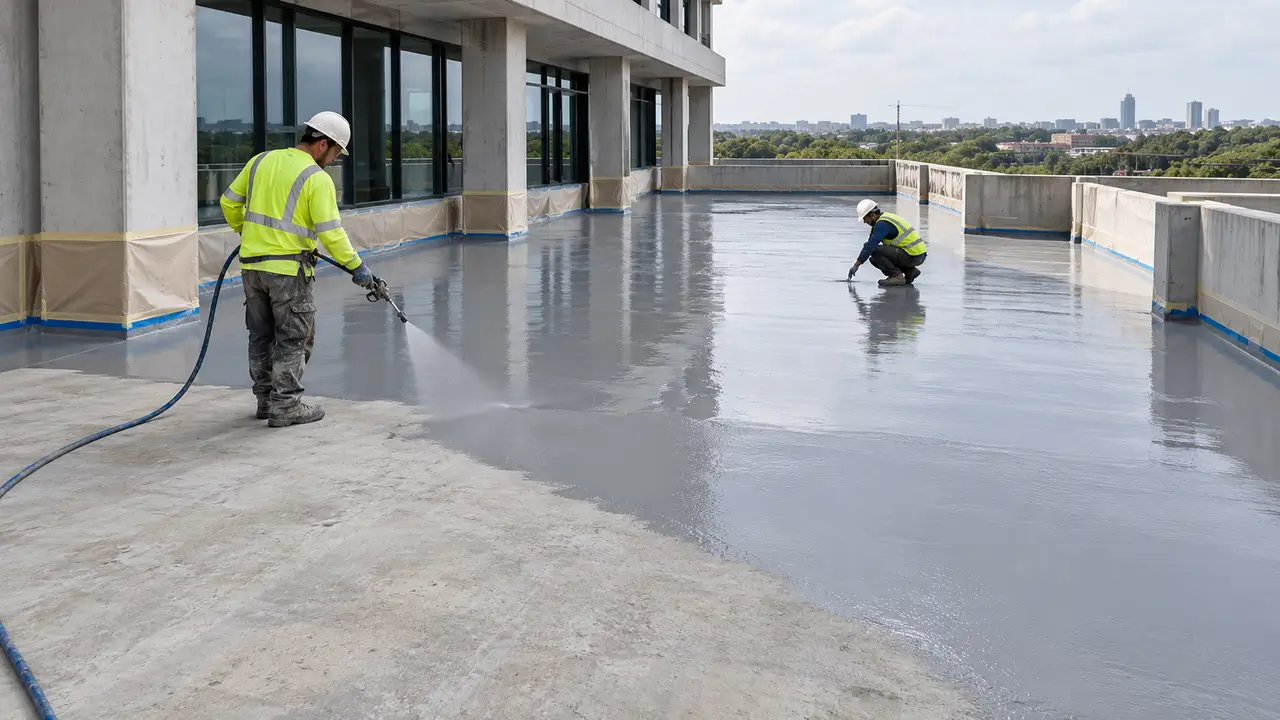
Liquid-applied waterproofing is a flexible insulation system applied in liquid form using brushes, rollers, or spray methods to protect structures against water and moisture. The full performance of this material depends on the complete execution of the drying and curing phases following application. Proceeding with subsequent operations before the drying time is complete breaks the water insulation resistance of the material, leading to structural problems such as leaks, bubbling, and cracking in later periods. Proper curing ensures that the insulation integrates with the concrete or other structural elements at a cellular level.
The drying times of liquid-applied insulation materials vary depending on the chemical composition of the product used and the physical conditions of the application area. Cement, polyurethane, bitumen, or acrylic-based insulation materials each have a distinct reaction rate. Ambient temperature, relative humidity, wind speed, and application thickness directly shorten or lengthen this process. In construction projects, it is essential to clearly know which material dries in how many hours under specific conditions to correctly plan the workflow and maximize the efficiency of water insulation.
Key Factors Determining Liquid-Applied Waterproofing Drying Time
The completion of the chemical reaction of liquid insulation materials through surface adhesion occurs under the control of multiple interconnected physical parameters. Managing the factors that accelerate or slow down this process correctly directly determines the lifespan of the water insulation. The main variables affecting the curing speed are:
- Ambient and Surface Temperature: The chemical curing process accelerates in hot weather and slows down in cold weather. At temperatures below 5°C, the reaction comes to a standstill, making it impossible for the material to dry.
- Relative Humidity Rate: High moisture levels in the air reduce the evaporation rate of water and solvent-based insulation materials. At humidity levels of 80% and above, the drying time doubles.
- Application Thickness: Applying the material in a single thick layer cuts off the contact of the lower parts with air. While the surface forms a skin, the inner parts remain wet, causing cracks.
- Wind and Air Flow: Air circulation in open areas or well-ventilated indoor spaces supports evaporation. Wind accelerates the curing process by ensuring the rapid removal of surface moisture.
How Many Hours Does Cement-Based Liquid Waterproofing Take to Dry?
These systems, consisting of cement and acrylic polymer liquid components, harden through a chemical hydration reaction rather than evaporation. After the first coat application, the material reaches touch dry within 4 to 6 hours. At this stage, the material adheres to the surface and does not stick to fingers when touched, but it has not yet reached the strength required to be walked on or coated with a second layer.
Under standard conditions where the ambient temperature is 20°C, a minimum wait of 12 hours is required to proceed with the second coat application. When the ambient temperature drops to around 10°C, this waiting period extends up to 24 hours. Keeping the interval between two coats from being excessively long ensures that the chemical bond (adhesion) between the layers remains strong. Complying with the specified hour ranges is of critical importance for preserving the elastic structure of the material.
Following the completion of the application, the complete curing of cement-based materials to become resistant to water pressure covers a 7-day period. During this 7-day period, the insulation layer must be protected against mechanical impacts, excessive sunlight, or the risk of freezing. Applying ceramic tiles or pouring screed onto the surface before the complete curing period ends causes the insulation layer to lose its function.
Ideal Drying Time of Polyurethane-Based Liquid Waterproofings
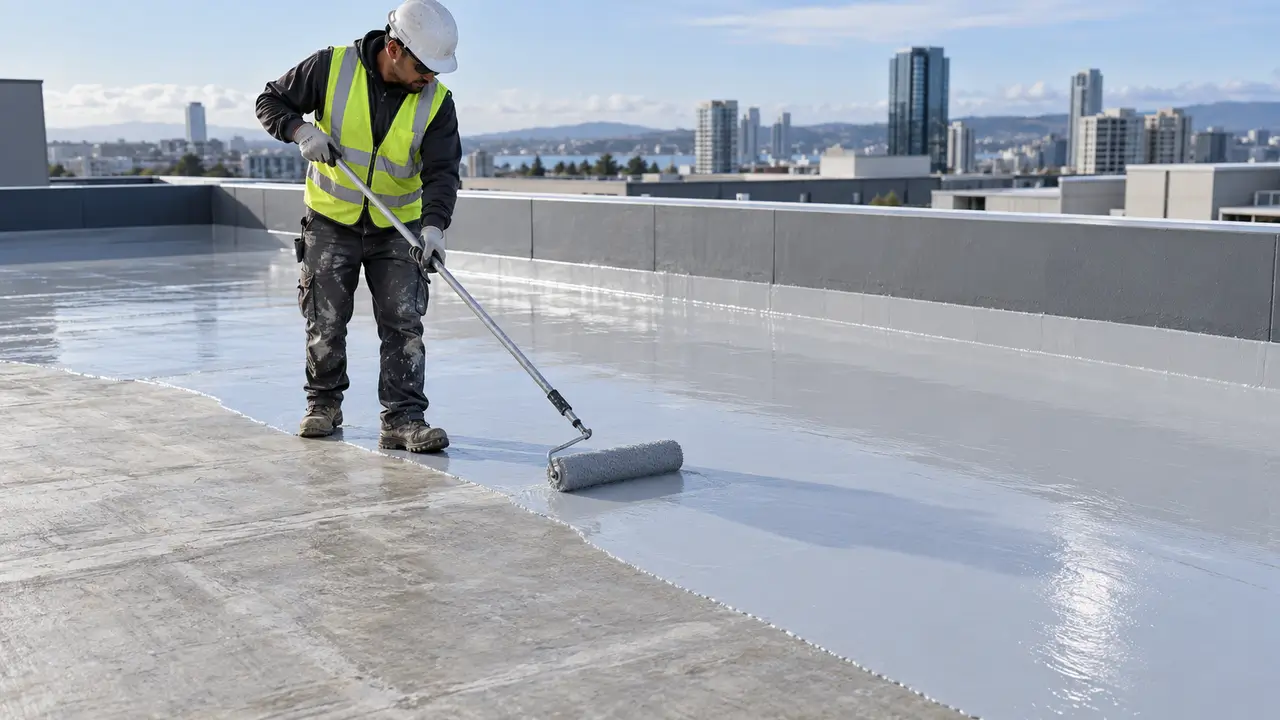
Polyurethane-based liquid membranes are top-tier insulation materials that harden by reacting with the moisture in the air (single-component) or through their internal chemical mixture (two-component). The drying speeds of polyurethane systems, which have high UV resistance and extreme flexibility, directly depend on the amount of moisture in the environment. The drier the environment, the longer the drying time.
The drying and curing times of polyurethane-based insulation under standard conditions (20°C temperature and 50% relative humidity) are detailed in the table below:
| Curing Stage | Time Range | Physical Condition |
| Skin Formation (Touch Dry) | 2 - 4 Hours | Surface loses its tackiness, does not collect dust. |
| Light Foot Traffic (Interval Between Coats) | 12 - 24 Hours | Second coat can be applied, can be walked on carefully. |
| Mechanical Strength Gain | 3 - 4 Days | Becomes ready for ceramic tiling or screed pouring operations. |
| Complete Curing (Ultimate Resistance) | 7 Days | Material reaches maximum water and chemical resistance, process ends. |
In two-component polyurethane products, since the reaction starts at the moment of mixing, moisture in the air is not needed; this makes the curing process faster and more predictable compared to single-component systems. In polyurethane applications, transitioning to the next coat immediately after the drying time of each layer is completed creates a smooth insulation film.
When Do Bitumen-Based (Asphalt) Liquid Membranes Dry?
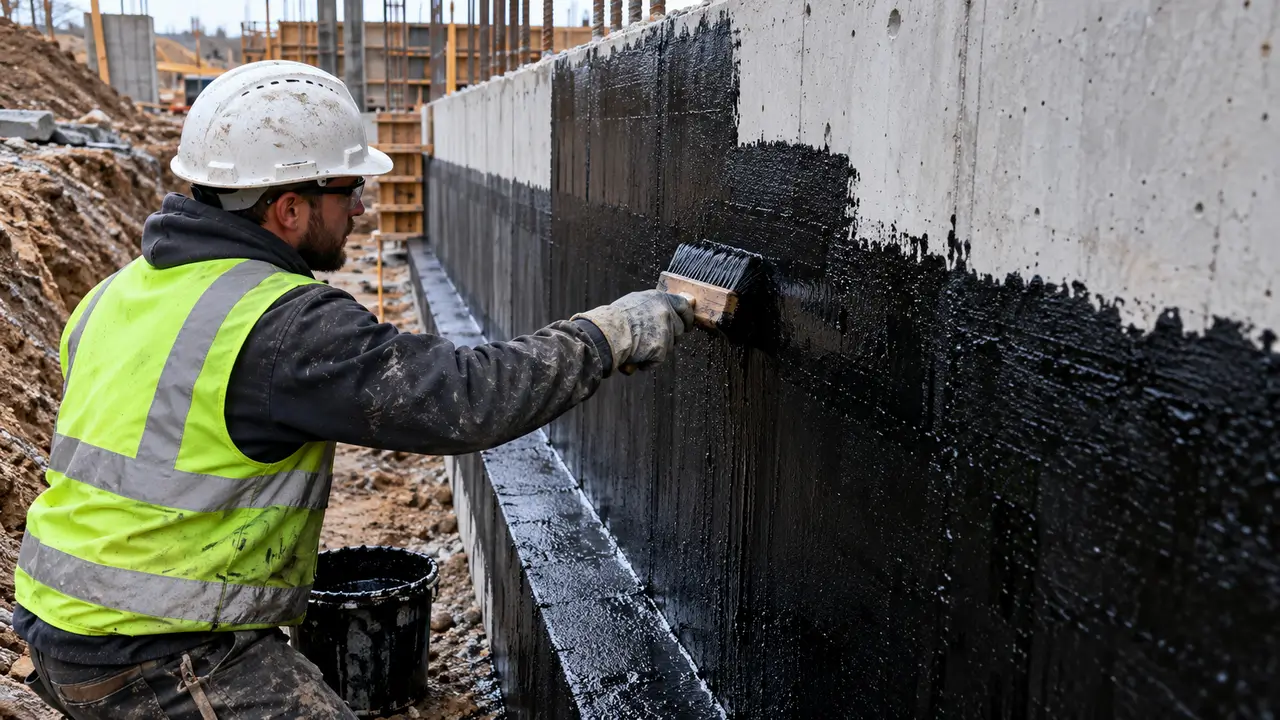
Bitumen-rubber or bitumen-polyurethane-based liquid insulation materials are heavily preferred in parts of foundation and retaining walls remaining under soil. These products are produced in two different structures as water or solvent-based, and their drying mechanisms rely on the principle of liquid evaporating and leaving the surface. Solvent-based bitumen membranes evaporate much faster because they contain volatile chemicals; they reach touch dryness in just 1 to 2 hours.
In water-based bituminous liquid insulation, the evaporation rate of water is closely related to environmental humidity. While initial drying takes 4-5 hours in sunny, windy, and open areas, this period exceeds 24 hours in enclosed areas with low air circulation and high humidity, such as basement floors or elevator pits. To ensure complete adhesion between coats, the lower layer must expel all its liquid and its black color must become completely matte.
Following the application of the second coat, complete curing of the bitumen-based material is mandatory before proceeding with soil backfilling. Under ideal conditions, these asphalt-based membranes require a timeframe between 48 and 72 hours to become ready for protection board installation and soil backfilling. Performing soil backfilling before complete drying causes the material to peel off, damaging the insulation.
Complete Curing Stages of Acrylic Liquid Insulation Materials
Acrylic resin-based liquid insulation materials are eco-friendly and extremely practical products to apply thanks to their water-based structures. Used in areas exposed to sunlight such as terraces, roofs, and balconies, acrylic insulations turn into a flexible rubber layer as the water they contain evaporates. The stages in the complete curing process of these materials are:
- Evaporation and Surface Drying (1-3 Hours): Immediately after application, the water content starts mixing into the air. In open and sunny weather, the material reaches touch dryness within 1 hour, and in shaded and cool areas within 3 hours.
- Establishment of Interlayer Bond (4-8 Hours): In this phase, where the moisture in the inner parts of the first coat is completely removed, sufficient surface hardness is formed to apply the second coat. This is the stage where the first coat integrates with the ground and begins to gain its elastic structure.
- Volumetric Shrinkage and Cross-Linking (24-48 Hours): All the water in the material applied in two or three coats is expelled outward. Resin polymers interlock with each other to form ultimate resistance against tearing and cracking.
- Complete Curing and Opening to Traffic (7 Days): The acrylic layer reaches the point of full resistance against all external factors such as rain, snow, frost, and foot traffic. Light furniture placement or cleaning operations are performed after this period is completed.
How Long Should Be Waited Between the First and Second Coat Applications?
Liquid insulation systems are never applied as a single coat; products are applied in at least two coats perpendicular to each other (cross-hatch) to ensure complete impermeability to water. The waiting period between these two layers is one of the most sensitive balances directly affecting the success of the insulation. Applying the second coat before the first coat is completely dry causes the water or solvent inside the lower layer to become trapped. These trapped gases, while trying to evaporate in subsequent days, form pinholes or bubbles on the insulation surface, resulting in the puncture of the insulation.
In contrast, excessively extending the interval between two coats is also a major mistake. Applying the second coat days or weeks after the first coat weakens the chemical bonding (adhesion) bridges between the two layers. Dust, dirt, or dew droplets accumulated on the surface prevent the second coat from adhering to the first coat, causing the layers to separate and peel off over time.
The safest physical way to determine the ideal waiting period is to perform a "finger test." If a slight mark remains on the surface when pressure is applied with a finger to the first coat, but the material does not stick to the finger, the right moment has come to apply the second coat. Unless otherwise specified in the application instructions, this duration should be kept within a minimum of 4 and a maximum of 24 hours, depending on weather conditions.
How is the Drying Process Affected If It Rains After Liquid Waterproofing?
Instant tracking of weather conditions holds vital value in liquid insulation applications performed in open areas. Precipitation starting before the insulation material has completed its surface drying (skin formation) physically destroys the entire insulation layer. If water and acrylic-based products are exposed to water before reaching the full polymerization stage, raindrops dilute the material, disrupt its structure, and cause it to flow into water drainage outlets and disappear completely.
In cement-based insulations, when the material receives rain while in a fresh state, the cement slurry on the surface is washed away. This washing away destroys the binder property of the material, causing it to powder and crumble like sandpaper after drying. In polyurethane products, in areas in contact with water droplets before the reaction ends, the material swells by foaming, its structure takes on a spongy form, and it completely loses its water-stopping feature.
To prevent these risks, the area must be absolutely protected from precipitation during the first 12 to 24-hour period, depending on the type of insulation, starting from the end of the application. In sudden downpour conditions, a tarp or plastic sheet should be stretched without directly contacting the insulation surface to secure the area. An insulation layer that has suffered rain damage, whose structure has been ruined or washed, cannot be corrected by leaving it to dry; completely scraping the damaged area and reapplying from scratch is the only valid solution.