


Think of that exact moment you notice a water leak in your house. That annoying yellow stain appearing on the downstairs neighbor's ceiling, growing day by day. Sledgehammers, shattered tiles, endless piles of rubble lasting for weeks, and that chaotic construction vibe taking over your home immediately rush into your mind. Just the thought of your bathroom turning into a war zone is enough to give anyone goosebumps. You call a plumber. He walks through the door, takes a quick look around, and the very first word out of his mouth is probably going to be "we have to break it." You object. You are absolutely right. Because anyone who has ever experienced how that ultra-fine tile dust permeates the deepest corners of the house, settling into clothes and even inside kitchen cabinets, never wants to live through that nightmare again.
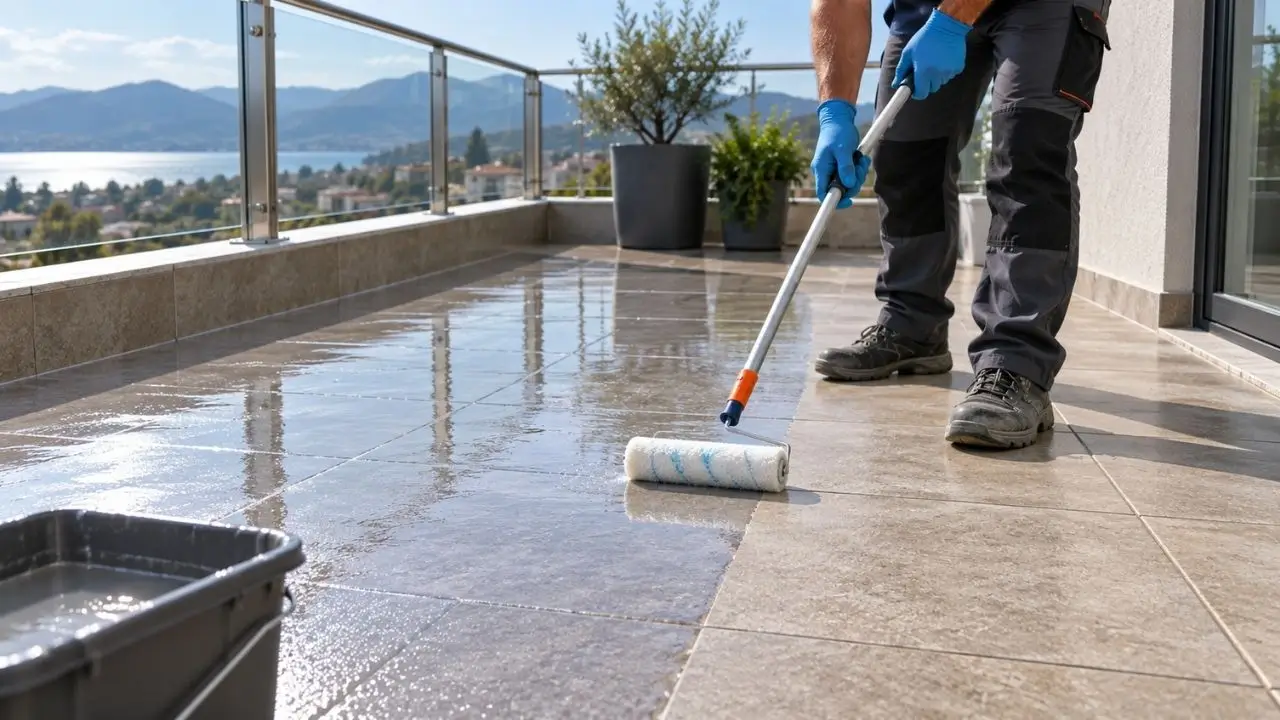
Fortunately, technology has finally taken the construction industry hostage. Waterproofing without smashing tiles to pieces and enduring that endless dust-swallowing ceremony is no longer some unattainable dream. Smart materials that literally repel water, which can be applied directly onto the existing ceramic with a brush or roller, coming in transparent forms or matching your floor color, come to our rescue. The process is incredibly fast. The cost won't bleed your wallet dry compared to that massive demolition operation. The best part is it consigns those infamous ceiling leak fights with the downstairs neighbor to the dusty shelves of history. Put the sledgehammer back in the shed. Now it's time to harness the power of smart chemicals.
What Are the Waterproofing Materials Applied Over Tiles?
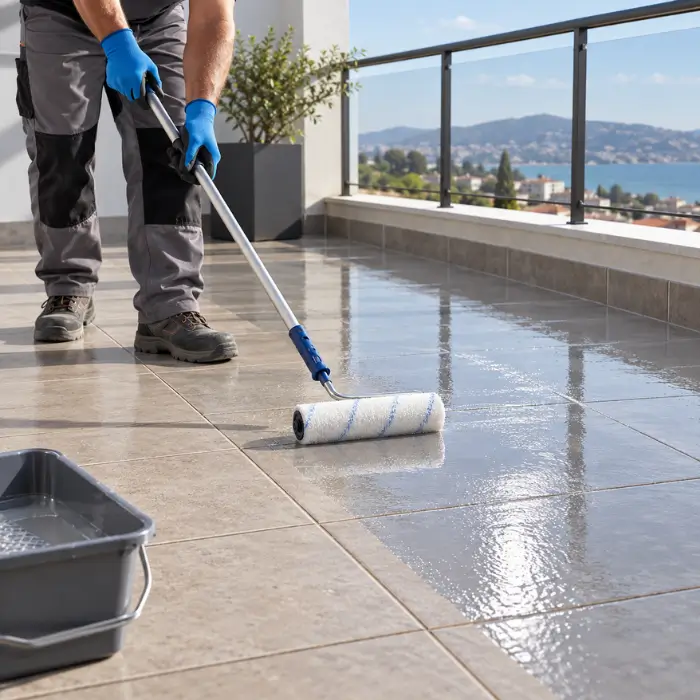
There are hundreds of products on the market sold with the promise of a "definitive solution." Going to a hardware store, grabbing a random bucket off the shelf, and heading home is the biggest mistake you can make. We are talking about a glazed, glossy surface like ceramic that is incredibly difficult to adhere to. Not just any chemical can grip this floor. You'll end up stuck with a material that peels and flakes off like a bad sunburn a few weeks later. Not just your money, but your time and effort will wash right down that drain. Choosing the right product is the absolute heart of the matter.
So what are we buying? We need to look for the secret in smart resins that provide heavy-duty adhesion.
- Polyurethane-Based Liquid Membranes: One of our toughest foot soldiers. Thanks to its elastic nature, it adapts to the building's breathing and minor shifts. The transparent ones are the top choice for those who refuse to ruin the pattern, color, and texture of their existing tiles.
- Epoxy Coatings: An absolute dictator when it comes to stopping water. It never compromises. Once cured, it forms a glass-like surface that is incredibly hard to wear down. However, its flexibility is quite poor.
- Polyurea Systems: Pure speed. A miracle of industrial durability that dries in seconds. It is sprayed on with specialized machines and weaves a virtually unrivaled armor when it comes to waterproofing.
Don't even think about those old, classic cement-based brush-on insulations over tiles. They can't hold on. It's like spitting into the wind.
Gently set that sledgehammer down without waiting for the next ceiling leak crisis with the downstairs neighbor. Thanks to Dryfix waterproofing materials, which literally ossify even on glazed surfaces that seem impossible to adhere to, cutting off that sneaky advance of water like a knife without tearing your bathroom apart is entirely in your hands. Say goodbye to those sacks of rubble; open your bucket, grab your brush, and rescue your home's peace of mind right now.
Drying Time After Insulation and Things to Watch Out For
You spread the chemical across the surface with great care and put the brush down. Is the job done? No. The real patience test is just beginning. That wet, glossy layer needs time to complete its chemical reaction and turn into a genuine shield. Do not blindly trust the "24 hours" stamp on the product label. The air in the room, the humidity levels, the drafts... Everything acts as a sneaky variable that either stretches or shortens the process.
Stepping on it too early, spilling water over it, or dragging a heavy washing machine across it will throw all that expense straight into the trash. Even a tiny scratch on the surface is like a thin dagger plunged right into the heart of that insulation.
The table below clearly shows how much things can vary depending on the material you choose:
| Material Type | Touch Dry | Walkable | Full Cure (Water Contact) |
|---|---|---|---|
| Transparent Polyurethane | 6 - 8 Hours | 24 - 36 Hours | 7 Days |
| Epoxy Resin | 4 - 6 Hours | 24 Hours | 5 - 7 Days |
| Hot Polyurea | 10 - 30 Seconds | 1 - 2 Minutes | 24 Hours |
Never neglect to ventilate the area thoroughly during the drying phase. That sharp, heavy chemical smell doesn't just burn your lungs. The intense moisture trapped inside will also cause blistering in the lower layers of the insulation. A few days of boring waiting time is the smallest price you'll pay for years of leak-proof comfort.
What is the Lifespan of Waterproofing Done Over Tiles?
You finished the application without a hitch, months have passed, the ceiling is bone dry, and there isn't a single drop leaking. The human mind is prone to relaxing immediately at this stage. But how long will this peaceful environment you've built actually last? Expecting a century of performance from a razor-thin insulation layer spread directly over a slippery surface without swinging a sledgehammer would obviously be delusional. However, when the right product meets meticulous craftsmanship, you construct a solid barrier that will handle things flawlessly for many years. Spitting out an exact number is tough.
Time's destructive impact on the material isn't just about simple external factors. If you operated in a completely open area like a balcony or terrace, the sun's merciless UV rays are the material's arch-nemesis. The fate of a coating on a terrace walked over ten times a day, where guest chairs are constantly dragged and barbecue sparks fly, simply cannot be the same as a coating in a remote bathroom corner nobody ever steps on. Your cleaning habits also directly affect this timeline. Bleach, hydrochloric acid, or those famous acidic miracle cleaners are the silent killers melting away the chemical bonds of the insulation from underneath.
When we add up all these harsh physical conditions, a high-quality polyurethane material easily crushing the ten-year mark with proper use is no surprise at all. There is no need to panic immediately when minor wear and tear or barely visible hairline cracks appear. Instead of scraping the entire floor again, you can just add brand new years to that protective shield by applying a tiny local touch-up to the problematic area. Attention, regular maintenance, and gentle use; that is the secret contract between you and the chemical.