


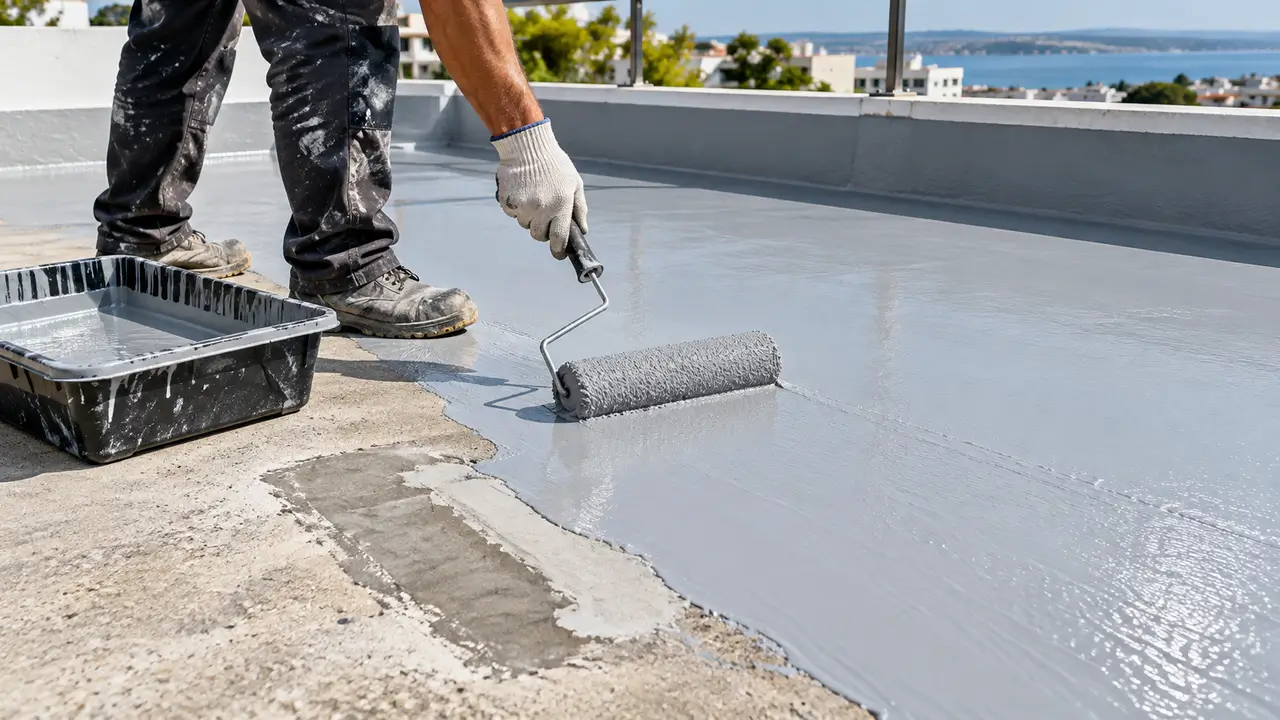
Roofs are areas most exposed to the sun, rain, snow, freezing events, and sudden temperature changes as they are located at the highest point of buildings. These harsh atmospheric conditions make roof waterproofing a structural necessity rather than a luxury. However, one of the most common problems encountered in insulation applications, causing the entire system to lose its function, is the blistering of the waterproofing layer. Small and large bubbles, water blisters, or widespread swelling formed on the surface are not just aesthetic flaws; they are a clear indication that the insulation has detached from the underlying layer, the protective barrier is damaged, and the reinforced concrete has become vulnerable to water leaks. The root of this problem usually lies in the disregard of building physics rules and chemical reactions.
Why Does Waterproofing Blister?
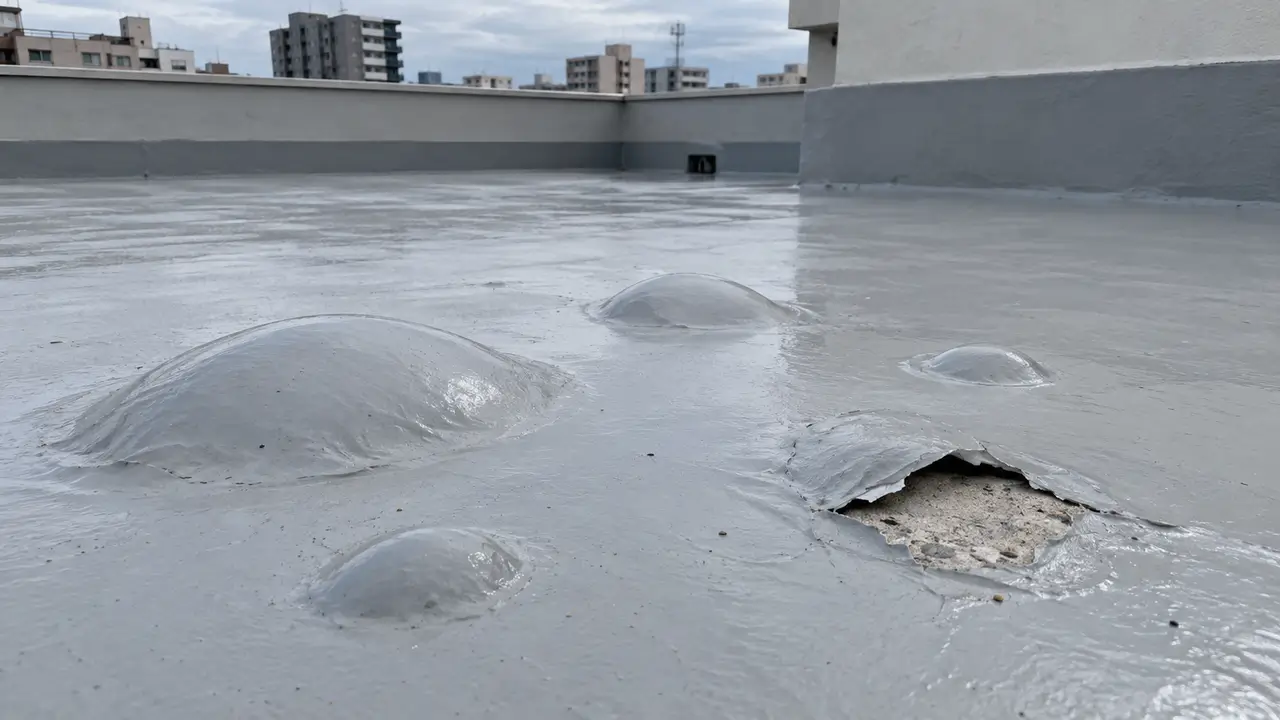
The factors causing the insulation layer to lose its bond with the ground and form blisters mostly stem from technical errors during the application phase and miscalculations of environmental factors, rather than the poor quality of the material used.
- Trapped Moisture and Massive Vapor Pressure: The primary culprit behind roof insulation blisters is the trapped moisture within the reinforced concrete slab or the slope screed layer. Concrete and screed have a porous, spongy structure and can hold water for a long time. When the insulation material (especially polyurethane, epoxy, acrylic, or bitumen-based liquid membranes) is applied before the ground is fully dry, moisture gets trapped inside the concrete. When the sun hits the roof surface vertically in summer, the water inside the concrete heats up and tends to evaporate. According to physics rules, water expands about 1600 times in volume when transitioning from liquid to gas (vapor). Even if the insulation layer is flexible, if it is not breathable, this massive vapor pressure violently pushes the coating from underneath. Consequently, the insulation material separates from the concrete, forming large air bubbles.
- Inadequate Surface Preparation and Dirty Substrate: No advanced technology waterproofing chemical can adhere to a dirty and structurally weak surface. If a new application is carried out without thoroughly cleaning the cement laitance layer, airborne dust, construction waste, form-release oil stains, or remnants from an old insulation system left on the surface after construction, the insulation material adheres not directly to the concrete, but to this weak and shifting intermediate layer. Over time, mechanical effects such as wind, high day-night temperature changes, and pedestrian traffic cause the insulation to detach from this dusty layer, creating air gaps.
- Wrong Primer Selection or Omitting the Primer: The primer acts as a chemical bridge between the main insulation layer and the concrete, balances the absorbency of the concrete, and maximizes adhesion strength. Choosing a primer unsuitable for the moisture level or texture of the surface is a critical mistake. For example, applying a standard polyurethane primer onto a slightly wet or freshly poured screed with a moisture content above 4% prevents the material from penetrating the concrete. In such cases, moisture-tolerant water-based epoxy primers or special chemicals with vapor barrier properties must be used. If the primer is skipped entirely to reduce costs or save time, the resins inside the main material are absorbed unevenly by the concrete, creating weak points on the surface and initiating the blistering process much faster.
- Application in Faulty Weather Conditions and Wrong Hours: Liquid waterproofing chemicals are extremely sensitive to ambient temperature and relative humidity. In liquid membrane applications made during midday hours when the sun is most direct, the top surface of the material in contact with the atmosphere dries quickly, forming an impenetrable film layer. However, the solvent or water in the lower parts has not yet had a chance to evaporate. Trapped solvent gases cannot escape, creating microscopic or macroscopic swelling within the coating. Similarly, applications made without calculating the "dew point," in the early morning hours when invisible condensation exists on the surface, or when the air temperature is below 5 degrees Celsius, make it impossible for the coating to chemically bond to the concrete.
- Material Incompatibility and Single-Thick-Coat Application: Using products with different chemical formulations on top of each other (e.g., applying polyurethane over an old acrylic or bitumen material) leads to chemical rejection, and the layers separate from each other. Additionally, applying liquid membranes overly thick in a single go to save labor prevents the material from homogeneously curing (drying) from the inside out. The lower parts, deprived of oxygen contact, fail to complete their reaction, releasing gas and causing permanent deformation and bubbles on the surface.
How to Fix Blistered Waterproofing?
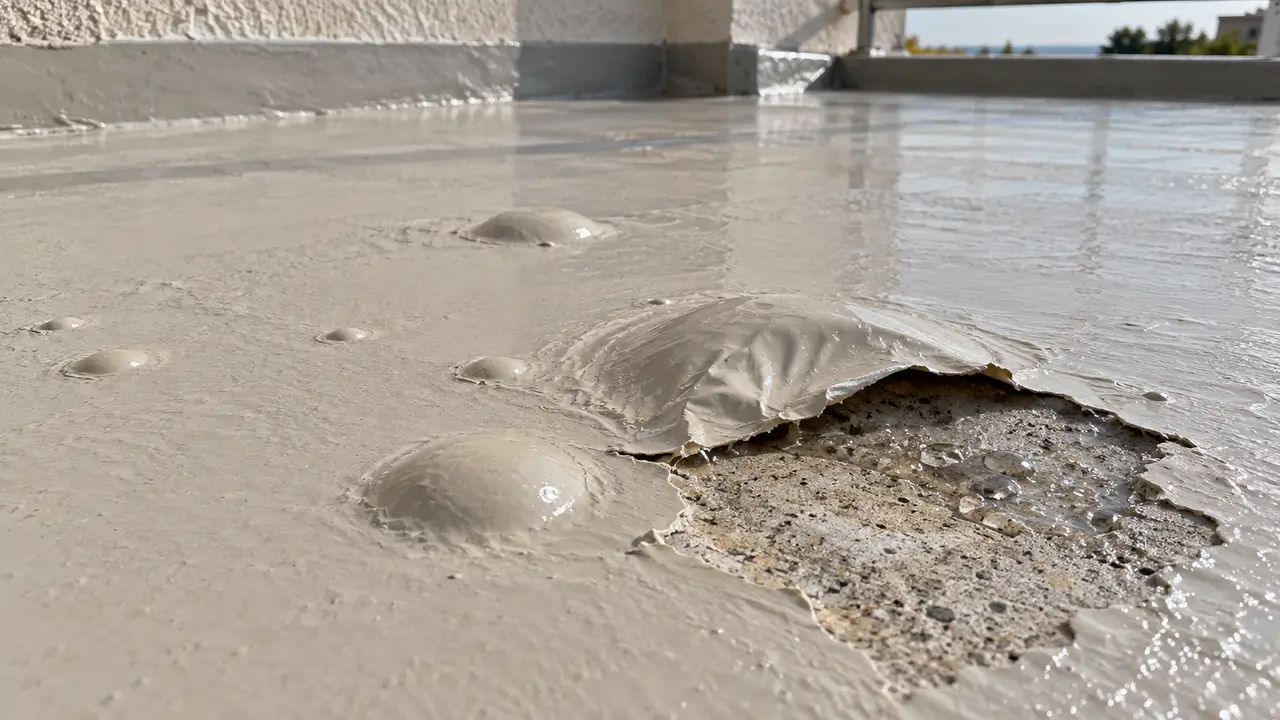
If the insulation on your roof has blistered and lost its form, popping the swollen spots and applying silicone, a patch, or directly coating a new layer over it will only conceal the problem for a few weeks. Since the pressure in the bottom layer continues, the newly applied layer will soon fail as well. For a permanent repair, the root cause of the problem must be addressed, and structural repair steps must be followed completely.
1.Detection and Complete Removal of the Damaged Area:Remove all detached insulation down to the bare concrete.
Cut and remove all blistered, flexible, and detached insulation material using a utility knife, scraper, or mechanical floor scrapers until the base concrete is reached. The most important point here is to clean not just the peak of the blister, but all weak peripheral areas (about 15-20 cm wide) where the material is firmly attached to the ground.
2.Accurate Measurement of Substrate Moisture and Complete Drying:Concrete moisture content must be below 4 percent.
Check the moisture status of the concrete in the opened area. Ensure the concrete has less than 4% moisture using professional moisture meters. If unavailable, use the "plastic sheet test": tape a transparent, thick piece of nylon to the surface airtight for 24 hours. If there is condensation or darkening under the nylon, the ground is still wet. Ensure complete drying to the core via natural ventilation or industrial hot air blowers.
3.Mechanical Preparation and Texturing of the Surface:Open closed pores for deep mechanical interlocking.
After removing the old insulation, roughen the remaining bare concrete surface using diamond grinding machines, angle grinders, or steel wire brushes. Vacuum thoroughly with industrial vacuum cleaners and fill cracks, holes, and pits with epoxy-based repair mortars or high-modulus polyurethane mastics.
4.Primer Application Suited to Substrate Dynamics:Choose two-component epoxy primers if residual moisture is suspected.
Apply primer to the prepared, repaired, and dust-free area. If moisture is suspected, use two-component epoxy primers. The primer must deeply penetrate concrete pores and form a glassy, homogeneous film. Wait for the curing time specified in the technical data sheet (TDS) before moving to the main layer.
5.Integration and Closing of the New Waterproofing Layer:Overlap over old sound material by 10-15 cm.
Apply the new waterproofing material matching the existing system in thin layers rather than one thick layer. If a two-coat application is used, apply the second coat crosswise after the first dries. Overlap the new liquid membrane by 10-15 cm over the old solid material. If exposed to direct sunlight, apply a UV-resistant aliphatic polyurethane topcoat.
Proactive Strategies to Prevent Future Problems
- Use of Ventilation Caps (Aerators): In large roofs exceeding 50 square meters or when installing a new system over an old one (over-roofing), T-shaped ventilation caps placed every 25-50 square meters release trapped gas and eliminate vapor pressure.
- Planning Application According to Thermal Cycles: Liquid applications should be carried out in summer during the early morning hours right after the dew clears or in the late afternoon.
- Fillet Applications and Geometric Transitions: Waterproofing should not end only on the horizontal plane; turn it up at least 25-30 cm onto parapet walls and chimney bases. Apply polyurethane mastic or repair mortar at 90-degree harsh corners to create smooth fillet transitions.
- Use of Carrier Reinforcement Mesh (Felt): Placing an alkali-resistant carrier reinforcement mesh or polyester felt between insulation layers massively increases tensile stress and mechanical resistance against structural movements.